
How to Render Animation in 3ds Max ?

Rendering animation in 3ds Max is significantly more demanding than rendering a still image. Instead of calculating a single frame, the software must compute hundreds or even thousands of frames, each containing complex lighting, reflections, textures, and geometry.
Even a simple animation can therefore become extremely time-consuming. A single frame may take several minutes—or even hours—to render depending on scene complexity. When multiplied by hundreds of frames, the total render time can quickly reach several days on a single workstation.
Because of this, rendering animation requires a rigorous workflow. Poorly configured scenes often lead to common issues such as:
- flickering lighting between frames
- unstable global illumination
- extremely long render times
- crashes caused by memory overload
Avoiding these problems starts long before pressing the render button. A proper pipeline involves preparing the scene correctly, selecting the right render engine, configuring the render settings carefully, and choosing the most efficient rendering strategy.
For larger animation projects, many studios also rely on a 3ds Max render farm to distribute rendering across multiple machines and significantly reduce the time required to calculate each frame. Cloud-based render farms allow rendering tasks to be split across many servers working in parallel, which dramatically accelerates production workflows.
In this guide, you will learn how to render animation in 3ds Max efficiently by following a professional workflow used in production environments.
1.1 Optimizing Geometry and Assets (XRefs)
Animation scenes often become extremely heavy because they contain large environments, detailed models, and high-resolution textures. When hundreds of frames need to be rendered, scene complexity directly impacts render times.
One of the most effective techniques for managing large scenes in 3ds Max is using XRefs (External References).
Instead of importing every asset directly into the main scene, XRefs allow artists to reference objects from external files. This keeps the primary scene lighter and easier to manage while allowing assets to be updated independently.
In production pipelines, XRefs are frequently used for:
- complex environments
- repeating objects
- collaborative workflows between artists
Geometry optimization is another essential step. Many models imported from other software contain unnecessary polygons that increase render time without improving visual quality.
Tools such as ProOptimizer can reduce polygon counts while preserving the overall shape of the mesh. Even small reductions in geometry complexity can significantly improve rendering performance across hundreds of frames.
1.2 Camera Setup and Path Animation
Camera movement plays a central role in most animations. Whether the goal is to produce an architectural walkthrough, a product visualization, or a cinematic shot, the camera must move smoothly and predictably.
In 3ds Max, one of the most reliable ways to animate a camera is by using a Path Constraint. This technique allows the camera to follow a predefined spline path, ensuring consistent motion throughout the animation.
Using a path constraint also makes it easier to adjust the animation later. Artists can refine the camera speed or trajectory simply by editing the spline.
Another important decision concerns motion blur. Motion blur increases realism by simulating the natural blur produced by fast movement. However, calculating motion blur during rendering can significantly increase render times.
For this reason, many professional workflows prefer adding motion blur later during post-production using compositing software. This approach produces similar visual results while keeping render times under control.
2. Choosing the Right Render Engine: Arnold, V-Ray, or Corona?
Before launching the render of an animation in 3ds Max, choosing the right render engine is essential. The renderer determines how lighting, reflections, and materials are calculated to produce the final image.
Each engine has its own strengths depending on the type of project, the desired realism, and the available computing power. In most professional pipelines using 3ds Max, three engines dominate: Arnold, V-Ray, and Corona.
Understanding their differences helps artists choose the best balance between quality, stability, and rendering time.
2.1 Arnold: The Native Renderer of 3ds Max
Arnold is the renderer included by default in 3ds Max. Originally developed for high-end visual effects, it has become widely used across film, television, and animation production.
Its main strength lies in its physically accurate rendering model. Arnold simulates light behavior realistically, which helps produce consistent images across animation sequences.
This stability is particularly valuable when rendering animation because inconsistent lighting calculations can cause flickering between frames, one of the most common issues in CGI animation.
However, Arnold is also known for being relatively resource-intensive. Complex scenes with heavy geometry or advanced materials can significantly increase render times.
For this reason, Arnold is often preferred when visual accuracy and lighting realism are more important than raw rendering speed.
2.2 V-Ray: The Industry Standard
V-Ray is widely considered one of the most powerful render engines available for 3D production. It is commonly used in architectural visualization, product design, and commercial animation.
One of its key advantages is the level of control it offers over global illumination, sampling, and reflection calculations. This flexibility allows artists to fine-tune rendering performance and achieve a better balance between image quality and render time.
V-Ray also provides specialized tools for animation rendering. These tools help stabilize global illumination calculations across frames, reducing the risk of flickering and ensuring consistent lighting throughout the sequence.
Because of its flexibility and reliability, many studios rely on V-Ray for complex projects where both visual realism and production efficiency are required.
2.3 Corona: Simplicity and Fast Workflows
Corona Renderer takes a different approach compared to Arnold and V-Ray. Instead of exposing dozens of complex parameters, Corona focuses on simplicity and intuitive workflows.
Artists often appreciate Corona because it produces high-quality results with minimal configuration. This makes it particularly popular in architectural visualization, where speed and ease of use are often more important than extreme technical control.
Corona also integrates a powerful built-in denoiser, which helps remove noise from rendered images while keeping sampling values relatively low. This allows artists to maintain reasonable render times while still achieving clean results.
For many users, Corona represents the most accessible renderer in the 3ds Max ecosystem while still delivering professional-grade images.
3. Configuring Render Settings for Animation
Once the render engine has been selected, the next step is configuring the Render Setup panel.
Most animation parameters are located in the Common tab, which controls the frame range, output resolution, and render output settings.
Configuring these settings correctly ensures that the entire animation renders as expected and avoids common production mistakes.
3.1 Time Output: Defining the Frame Range
The Time Output section determines which frames will be rendered.
By default, 3ds Max may render only the current frame, which is useful for still images but not for animation.
The most commonly used rendering modes include:
- Single Frame – renders only the current frame
- Active Time Segment – renders all frames on the timeline
- Range – renders a specific interval defined by the user
The Active Time Segment option renders the entire animation timeline, while the Range option allows artists to test a smaller section of the animation before committing to the full render.
Testing a small frame range is a common practice in professional pipelines because it allows artists to detect lighting problems or animation errors before rendering hundreds of frames.

3.2 Output Size and Resolution
Resolution has a direct impact on rendering performance because higher resolutions require the renderer to calculate more pixels.
Most animation projects are still produced in 1920 × 1080 (Full HD). This resolution provides a good balance between image quality and manageable render times.
However, many modern projects—especially advertising and high-end visualization—are now delivered in 4K resolution.
The difference in computational cost is significant. Rendering in 4K requires roughly four times more pixels than 1080p, which means render times can increase dramatically if the scene is not properly optimized.
For this reason, artists often test their scenes at a lower resolution before launching the final render.
3.3 Testing the Scene Before the Final Render
Before rendering the entire animation, it is essential to run several test renders.
These tests allow artists to evaluate lighting behavior, materials, and animation timing without committing to a full render job.
A typical workflow consists of rendering a short segment of the animation—often only a few seconds—to verify that everything behaves correctly.
These tests help identify potential issues such as:
- unstable lighting between frames
- noise caused by insufficient sampling
- materials behaving incorrectly in motion
Detecting these problems early prevents losing hours or even days of render time.
3.4 Understanding Sampling and Denoising
Sampling determines how many light calculations the renderer performs to simulate reflections, shadows, and global illumination.
Higher sampling values produce cleaner images but also increase render times. When rendering animation, this trade-off becomes particularly important because even small increases in render time per frame accumulate across hundreds of frames.
Modern render engines therefore rely heavily on denoising algorithms.
Denoisers analyze rendered images and remove noise while preserving important visual details. Many engines integrate AI-based denoisers developed by Intel or NVIDIA.
Using denoisers effectively allows artists to keep sampling values lower while still producing clean results. In many cases, this can reduce render times dramatically while maintaining high visual quality.

4. The Rendering Process: Local vs. Cloud Rendering
Once the animation scene is fully prepared and tested, the final step is rendering the sequence. Rendering is the process of converting the 3D scene into the final images that will compose the animation. This stage is computationally intensive because each frame requires complex lighting, shading, and geometry calculations.
When producing animation, artists typically choose between local rendering and cloud rendering.
Local rendering means that the entire animation is calculated directly on the artist’s workstation. While this approach is sufficient for preview renders or short animations, it quickly becomes limiting when dealing with large scenes or long sequences.
Rendering an animation frame by frame on a single machine can take an enormous amount of time. Even a relatively simple animation may require hundreds of frames, each requiring several minutes of computation. In professional productions, render times for a single frame can even reach hours depending on scene complexity.
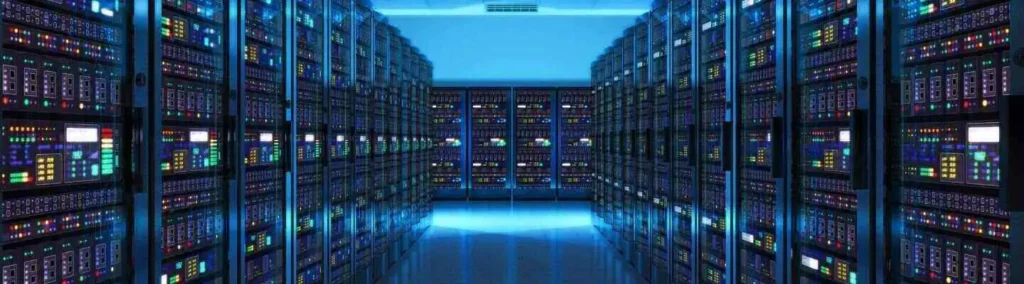
This is why many studios rely on a different approach: render farms.
A render farm is a cluster of computers specifically designed to render computer-generated images. Instead of calculating frames sequentially on a single workstation, the workload is distributed across many machines that process frames simultaneously.

4.1 When to Use a Professional Render Farm
Render farms become particularly valuable when projects involve large animations or tight deadlines.
To illustrate this, imagine an animation where each frame takes 20 minutes to render. A 10-second animation at 24 frames per second requires 240 frames, meaning the total render time would reach roughly 80 hours on a single workstation.
A render farm solves this problem by distributing frames across many machines. Instead of rendering frames sequentially, dozens or even hundreds of computers can render different frames simultaneously, dramatically reducing total rendering time.
This approach allows artists to complete projects that would otherwise take days in just a few hours.
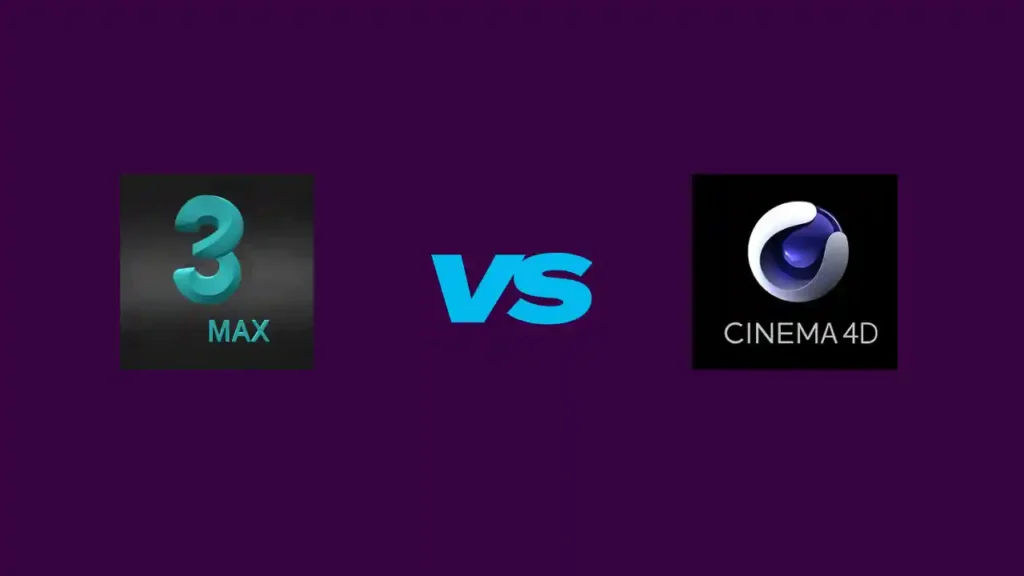
Platforms such as Ranch Computing specialize in this type of cloud rendering. Founded in 2006, Ranch Computing provides a render farm infrastructure designed for 3D artists working with software like 3ds Max, Blender, Cinema 4D, Maya, and other major 3D tools.
Instead of investing in expensive hardware, artists can upload their scene to the farm, where it is processed on powerful servers optimized for CPU and GPU rendering.