5 life-saving tips when using a rendering farm!

Want to go further in creating your images but have few machines in total or available, need to output 4K or more? At some point, you will need to go through a rendering farm.
Here are 5 tips to make this experience easier and more effective, and to allow you to discover smoothly what render farms can bring to your productions.
1. My first piece of advice: anticipate!
Don’t wait until 3am after two sleepless nights to test the different market players and choose one in a panic. Indeed, even if all the farms work in a more or less similar way, they each have their own tools. Make a first round by checking of course the compatibility of your modeler and rendering engine but also of the different plugins you use.
Then send a test scene – don’t hesitate to use your favourite plugins – to see if the workflow suits you. And finally, make a checklist with the main actions to prepare and upload the files, always useful when you use the service episodically.
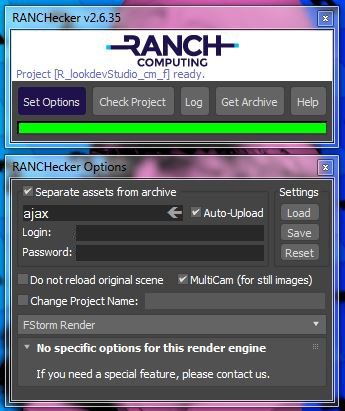
At Ranch Computing a tool called Ranch Checker -available for 3dsmax, Maya, Cinema 4D, Maxwell Render and Blender– allows you to group the assets of a scene and check the file support on the farm’s servers. It’s an easy tool, but it’s always easier to get the hang of it in the quiet moments.
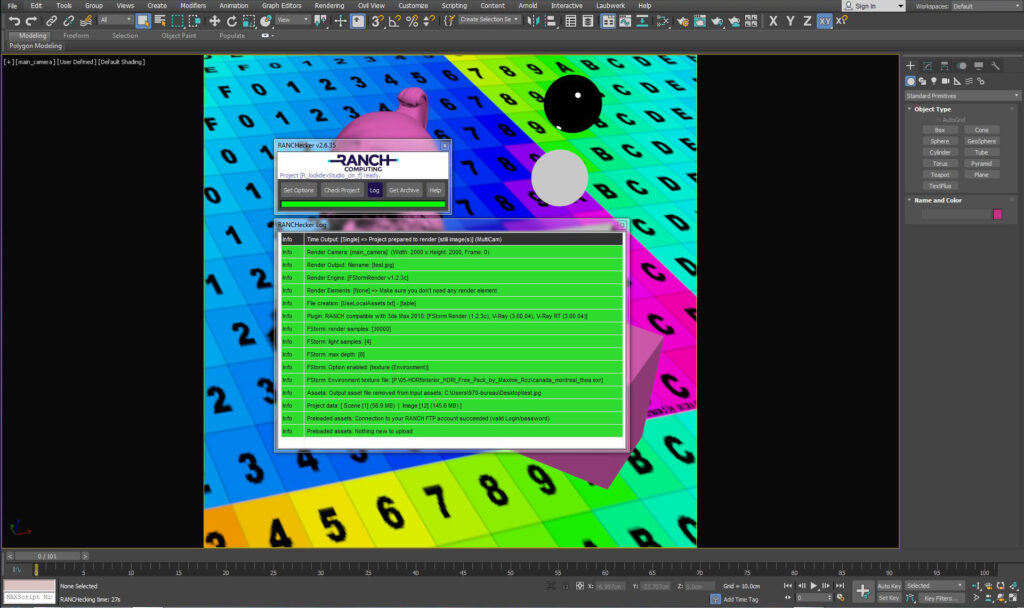
Most farms offer rendering credits when you first register. Take an hour and go from registration, to sending the test file, to writing the memento. You’ll think about this tip the next time you go to the farm.
2. Don’t forget the transfer time
For those of you with fibre optic connections, the transfer times (file uploads and image downloads) are not a big problem. For people who work with ADSL, the problem comes mainly from the upload of files. Don’t underestimate the upload time, in my case it is often much more important than the calculation time.
Ranch Computing offers a solution to reduce this time by downloading frames via CloudFlare, a CDN (Content Delivery Network). It allows to optimize the routing of the internet packets when you are geographically far from our servers located in Paris.
And depending on your location, you can also send your hard disk directly to the farm (located in the 18th arrondissement of Paris) for projects whose size does not allow for transfer via the internet.
3. Optimise textures
If you are sure that your project will run on a farm, a little thought about textures can save transfer time. Do I really need a 4k map? Can’t I save my textures as jpegs for this project?
4. Bet a few euros to speed up customer decisions
Also to improve the productivity of your studio, it can be interesting to launch the client validation image “low def” on a render farm.
1. It costs only a few euros and frees up your machines to attack another production and thus overlap the end of one production with the first phases of another.
2. This allows you to have all the elements already available on the farm and to be able to restart the rendering in high definition without having to manage the upload phase. Depending on the service provider, FTP access can be opened to update only the modelling, for example, without having to upload all the textures.
5. Opt for an automatic repatriation of your images
Another tool available from Ranch Computing: RanchSync. Like DropBox, it automatically synchronizes the calculated images with a folder on your computer. Rather practical: no need to check the progress of the rendering, the image is delivered directly. If you launch an animation in the evening, the next day when you arrive everything is available for post-production.
In conclusion…
Rendering farms are part of our toolbox as 3D artists. By following these tips, you will be able to take full advantage of the power they offer to take your productions to the next level.
Check out images rendered at Ranch Computing: