

Documentation

Furs
You will find on this page, the processes to render your furs with XGen and Yeti
XGen
Using Xgen in your scene requires a few steps to render your fur properly.
Before sending your scene on the farm which contains XGen features, please make sure to:
- Create the .abc files by clicking on “Export Patches for Batch Render” in the XGen tab> file.
If your simulation is animated, enter the desired frame range.


You can now create the .vua archive with our plugin RANCHecker V5.
To avoid any trouble while using the job name parameter, please save your scene with 20 characters maximum, before exporting patches for batch render.
- Check if the .vua archive contains:
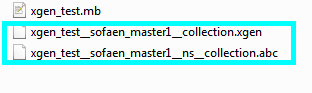
- All the files collectionName.xgen in the scenes folder
- All the files collectionName.abc in the scenes folder
- The correct scene name
- The “xgen” folder at the root of the .vua file, with all your collections and files inside
If something is missing accidentally, you can still add the assets manually inside the .vua archive, at the correct location.
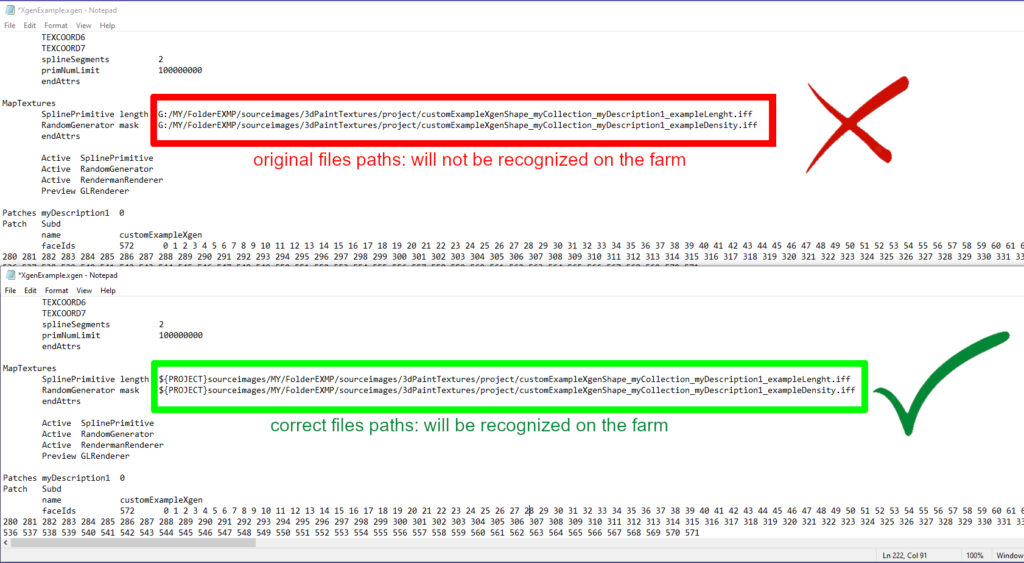
- Check paths
Check if all the paths inside the .xgen files have been changed automatically to match the farm render path.
The xgProjectPath parameter must indicate the following path: C:/Maya/CurrentJob/
and the texture map XGen mask must indicate: ${PROJECT}sourceimages/…/the file path inside the .vua/…/yourfile.iff
XGen Interactive
Xgen Interactive Groom works on the farm without the previous steps because they do not require the xgen folder.
Yeti
Workflow
We highly recommend to use fur caches instead of live fur. Since RANCHecker V5.1.1, Yeti caches are automatically gathered.
Yeti graph textures are not automatically collected yet.You have to use the following trick or add them manually inside the VUA.
Please do the following steps to be sure that your Fur will be rendered properly.
- In your scene, set “Input Mode” to “cache”
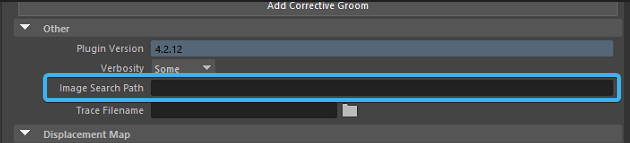
- If you have Yeti Graph texture node be sure to set “Image Search Path” with your own path directory. For instance if your texture file path is C:/Maya/myTexture/density.png, you have to set C:/Maya/myTexture/ in Image Search Path.
- Create a file node (per texture) with the exact same path than in your Yeti Graph texture node. For instance C:/Maya/myTexture/density.png
- RANCHeck your scene
Special Case
Arnold :
If you want to render without caches with Arnold, be sure to have write in Render Settings > “Common” tab > “Render Options” the command line pgYetiPreRender in the 3 following fields:
“Pre render Mel”, “Pre render layer Mel” and “Pre render frame Mel”.

Compatibility
Yeti’s compatibility on the farm depends on Maya’s version you used and the render engine’s and Yeti’s versions installed on the farm. We recommend to check in the Yeti’s Release Note that the version’s are compatibles.